Note: This post contains affiliate links. Purchasing through those links supports this site at no extra cost to you. See our Affiliate Disclosure for details.
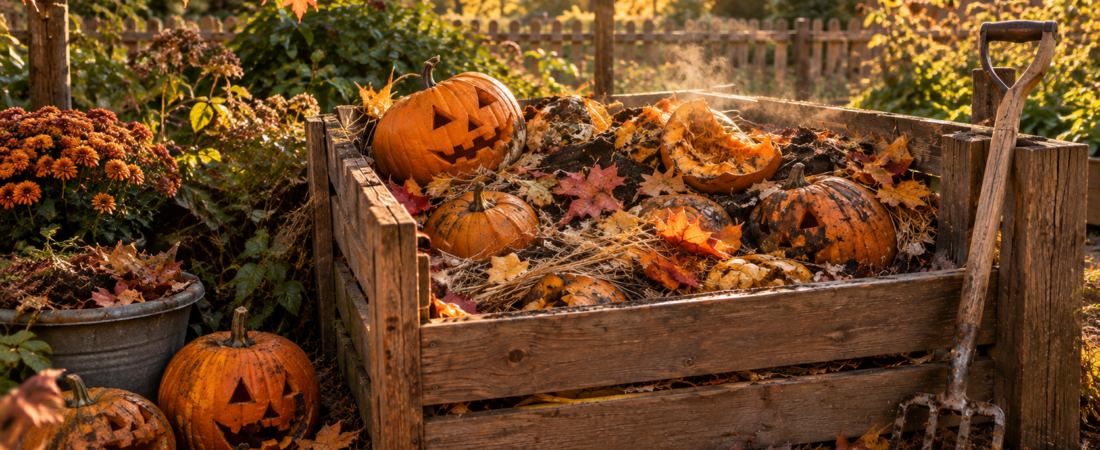
Compost jack-o-lantern pumpkins instead of tossing them — Halloween is over, the porch light is off, and now you’re staring at a pile of carved (or uncarved) pumpkins wondering what to do with them. The good news: pumpkins are one of the easiest things in the world to compost. Instead of sending them to a landfill — where they’ll break down anaerobically and release methane — you can turn them into next spring’s garden soil. Here’s exactly how.
Why Composting Pumpkins Matters
Every year, an enormous number of pumpkins end up in landfills after Halloween. Buried under other trash, they decompose without oxygen and produce methane, a greenhouse gas far more potent than CO2. Composted properly, that same pumpkin breaks down aerobically and turns into nutrient-rich soil instead — a much better ending for something that grew out of the ground in the first place.
Can You Compost Any Pumpkin?
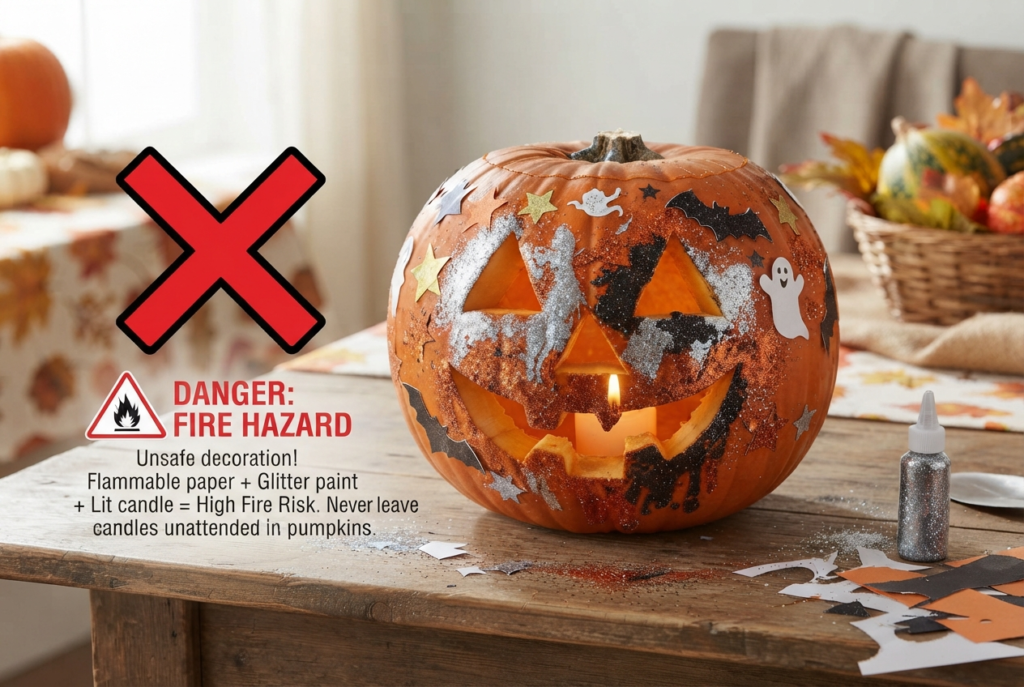
Real, uncarved pumpkins compost the fastest since they break down as a whole piece. Carved jack-o’-lanterns compost too, but faster — and messier — since they’re already exposed to air. One thing to skip: pumpkins with wax candles, glued-on decorations, paint, or glitter. Remove all of that first, since none of it breaks down and some of it (paint, glitter) can introduce microplastics or chemicals into your compost.
How to Compost a Jack-O-Lantern: Step by Step
1. Remove Any Non-Organic Additions
Pull out candles, stickers, paint, or any decorations before composting. Only the pumpkin flesh, skin, and seeds should go in.
2. Break It Down Into Smaller Pieces
A whole pumpkin takes a long time to break down. Smash it, chop it, or stomp it into smaller chunks first — more surface area means faster decomposition.
3. Add It to Your Compost Pile or Bin
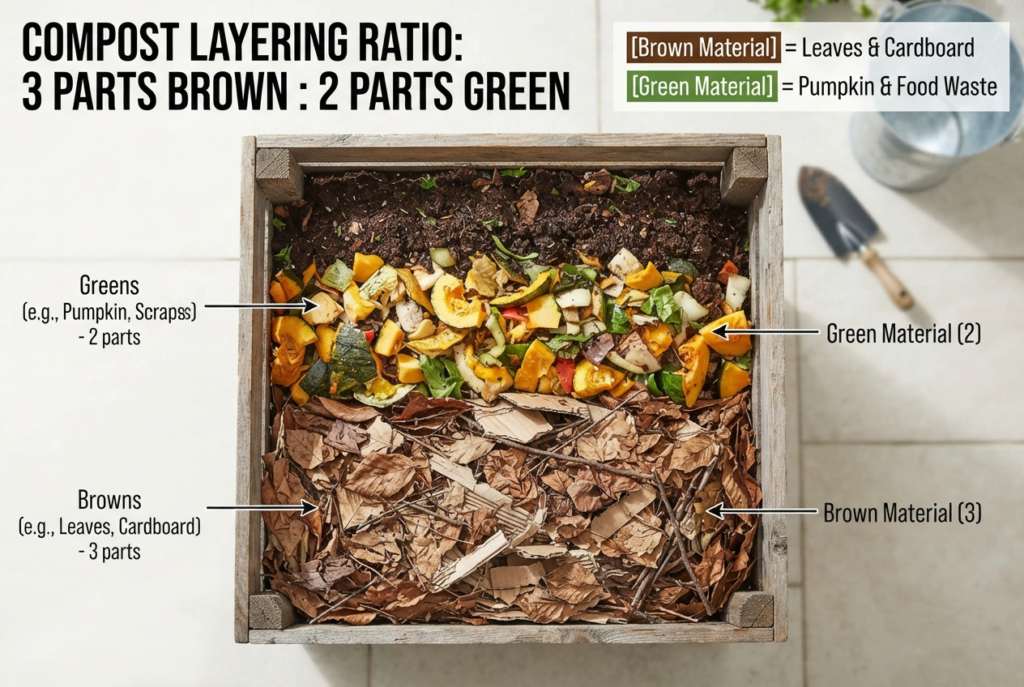
Pumpkin flesh is a “green” (nitrogen-rich) compost material. Balance it out with “browns” like dried leaves, shredded cardboard, or straw so your pile doesn’t get too wet or smelly. A rough ratio of one part pumpkin to two or three parts dry brown material works well.
4. Bury or Mix It In
If you’re using an open pile, mix the pumpkin pieces in rather than leaving them on top, where they can attract pests. In a closed tumbler-style bin, just add and turn as usual.
5. Save the Seeds (Optional)
Before composting, scoop out and rinse the seeds. Roast them for a snack, or dry and save some to plant your own pumpkins next season — a nice full-circle move if you’re already into growing your own food.
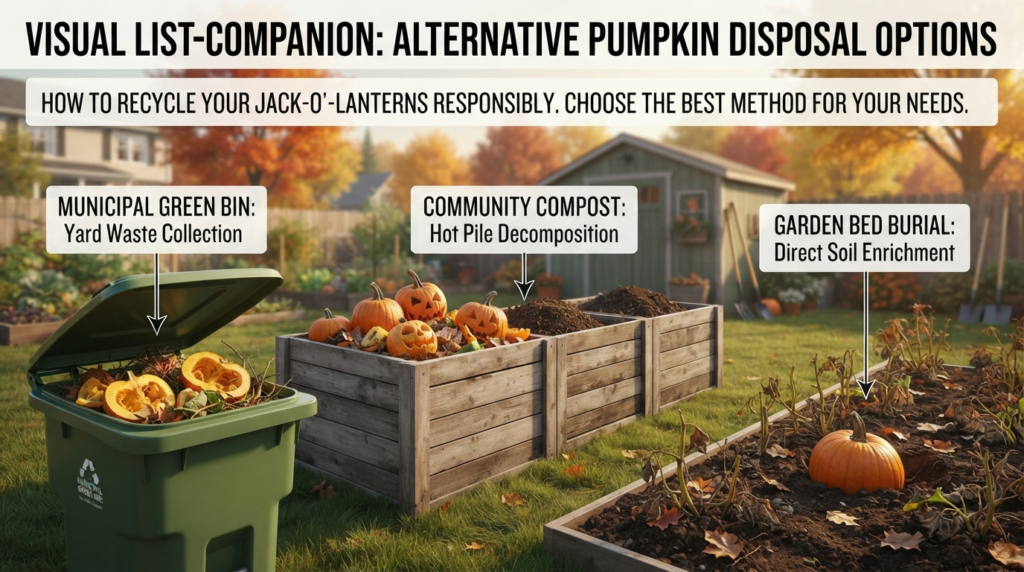
No Compost Pile? Other Options
- Municipal compost/yard waste pickup — many cities accept pumpkins in green bins or yard waste collection.
- Community gardens — local gardens often welcome pumpkin donations for their compost systems.
- Bury it directly in a garden bed — a whole or chopped pumpkin buried a foot deep will break down on its own over winter and enrich the soil by spring.
- Feed it to backyard chickens or livestock — if you keep animals, pumpkin flesh and seeds are a nutritious treat.
Starting a Compost Bin This Fall
If Halloween is the push you needed to finally start composting, fall is actually a great time to begin — you’ve got pumpkins, fallen leaves, and yard cleanup debris all at once, which makes for a well-balanced starter pile. A simple tumbler bin is the easiest option for beginners since it contains odors and speeds up decomposition through regular turning.
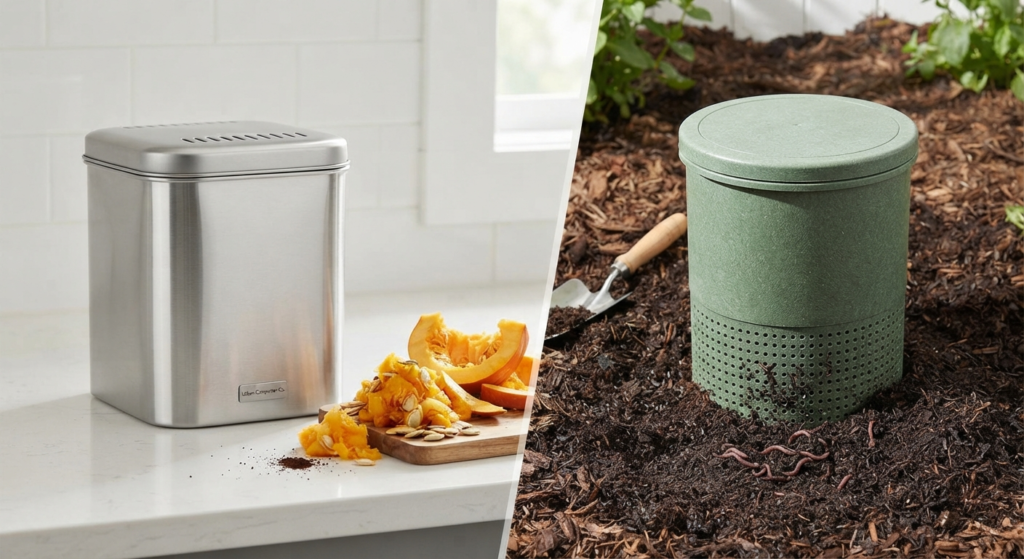
- Epica Kitchen Compost Bin (1.3 Gallon) — a compact stainless steel countertop bin for collecting pumpkin scraps and other kitchen waste before it heads out to the compost pile or municipal pickup. Easy to empty daily and small enough to not take over counter space.
View on Amazon → - Inground Worm Composter (2-Pack) — a beginner-friendly vermicomposting bin that sits directly in a garden bed. Great for composting pumpkin chunks straight into the soil where they’ll feed your garden, without needing a full outdoor compost pile setup.
View on Amazon →
Final Thoughts
Learning to compost jack-o-lantern pumpkins is one of the simplest zero-waste swaps of the whole Halloween season — it takes minutes, costs nothing, and turns a decoration you’re done with into food for next year’s garden. If you enjoyed this, check out our guide on eco-friendly Halloween decor for more ways to celebrate sustainably.