Note: This post may contain affiliate links in the future. When that happens, purchasing through those links supports this site at no extra cost to you. See our Affiliate Disclosure for details.
You do not need a big budget or a trip to the furniture store to transform your home and garden. With a handful of reclaimed materials, a few basic tools, and a weekend afternoon, you can create stunning DIY projects that are genuinely sustainable — keeping waste out of landfills and giving everyday objects a second life.
Whether you are new to DIY or a seasoned maker, these six sustainable home and garden projects are designed to be approachable, beautiful, and kind to the planet. Each one uses recycled or reclaimed materials and doubles as a creative way to bring more greenery and natural textures into your living space.
Why Sustainable DIY Projects Matter
The average household throws away hundreds of kilograms of reusable material every year — old timber, glass bottles, picture frames, leather offcuts, and more. Sustainable DIY is about interrupting that cycle: repurposing what you already have into something functional and beautiful instead of buying new.
Beyond the environmental benefit, handmade home decor has a warmth and individuality that mass-produced items rarely match. Each project in this guide carries its own story — the grain of reclaimed wood, the shape of a vintage perfume bottle, the weathered texture of an old picture frame.
1. Reclaimed Wood and Leather Strap Shelves
One of the most impactful sustainable home improvements you can make is replacing flat-pack shelving with shelves built from reclaimed timber and upcycled leather straps. The result is a high-end, industrial-meets-organic look that costs a fraction of what you would spend in a homeware store.
What You Need
- A straight, knot-free reclaimed hardwood board (oak, pine, or elm work well)
- Two lengths of thick leather strap (old belts are ideal)
- Screws and heavy-duty wall anchors
- 120 and 220 grit sandpaper
- Danish oil, beeswax, or matte polyurethane for sealing
- A drill and a spirit level
Step-by-Step Instructions
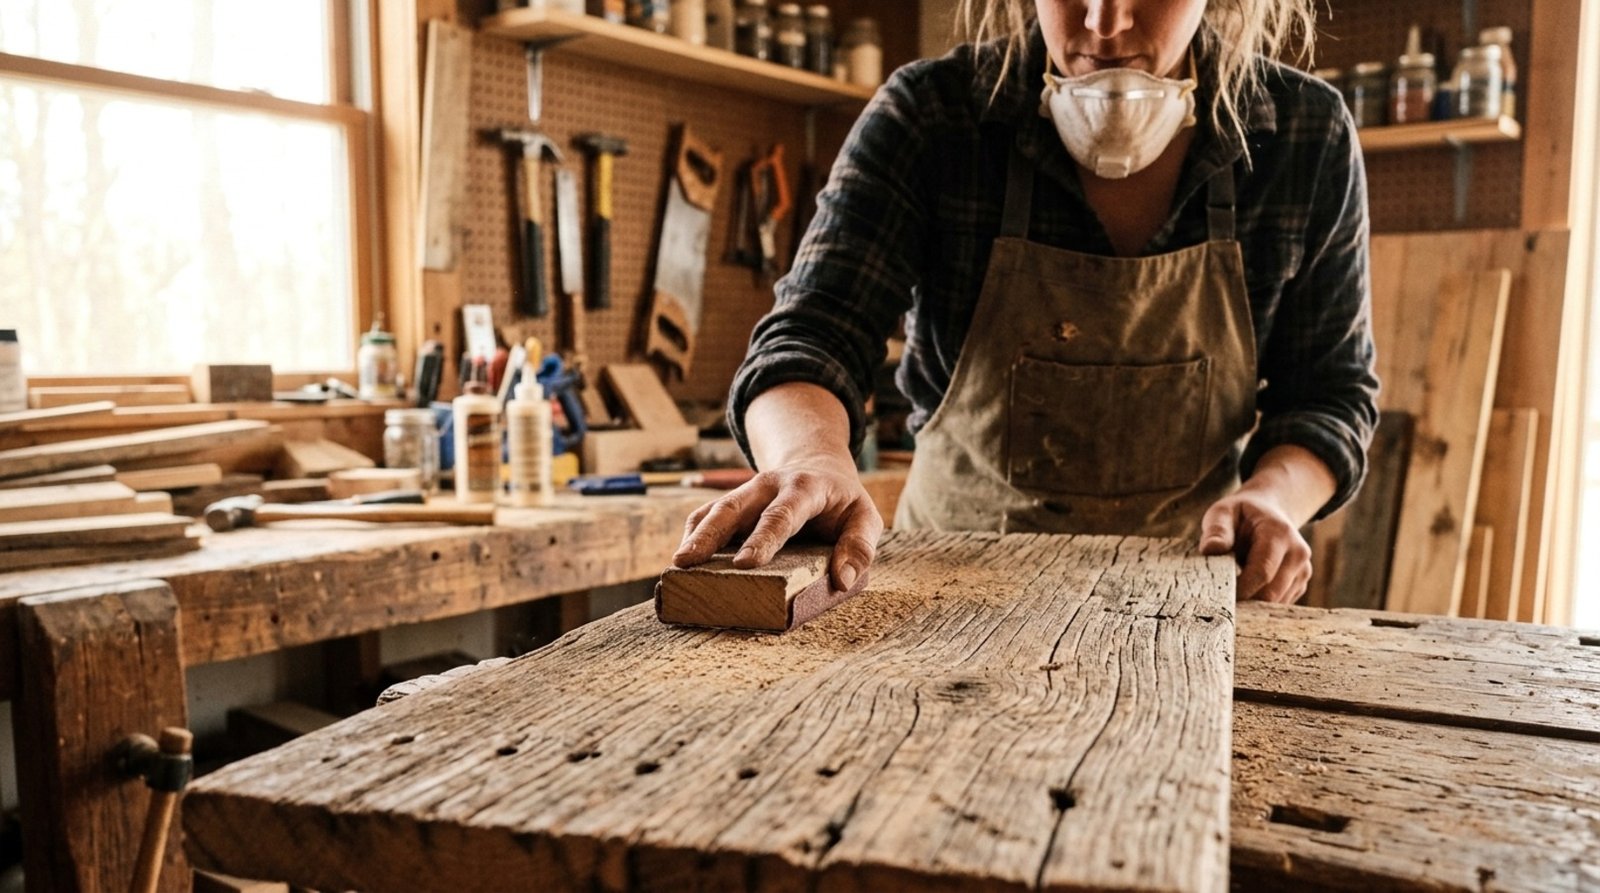
Prepare the wood. Remove any old nails and sand the board with 120 grit, then finish with 220 grit. Keep the natural imperfections — they are part of the character.
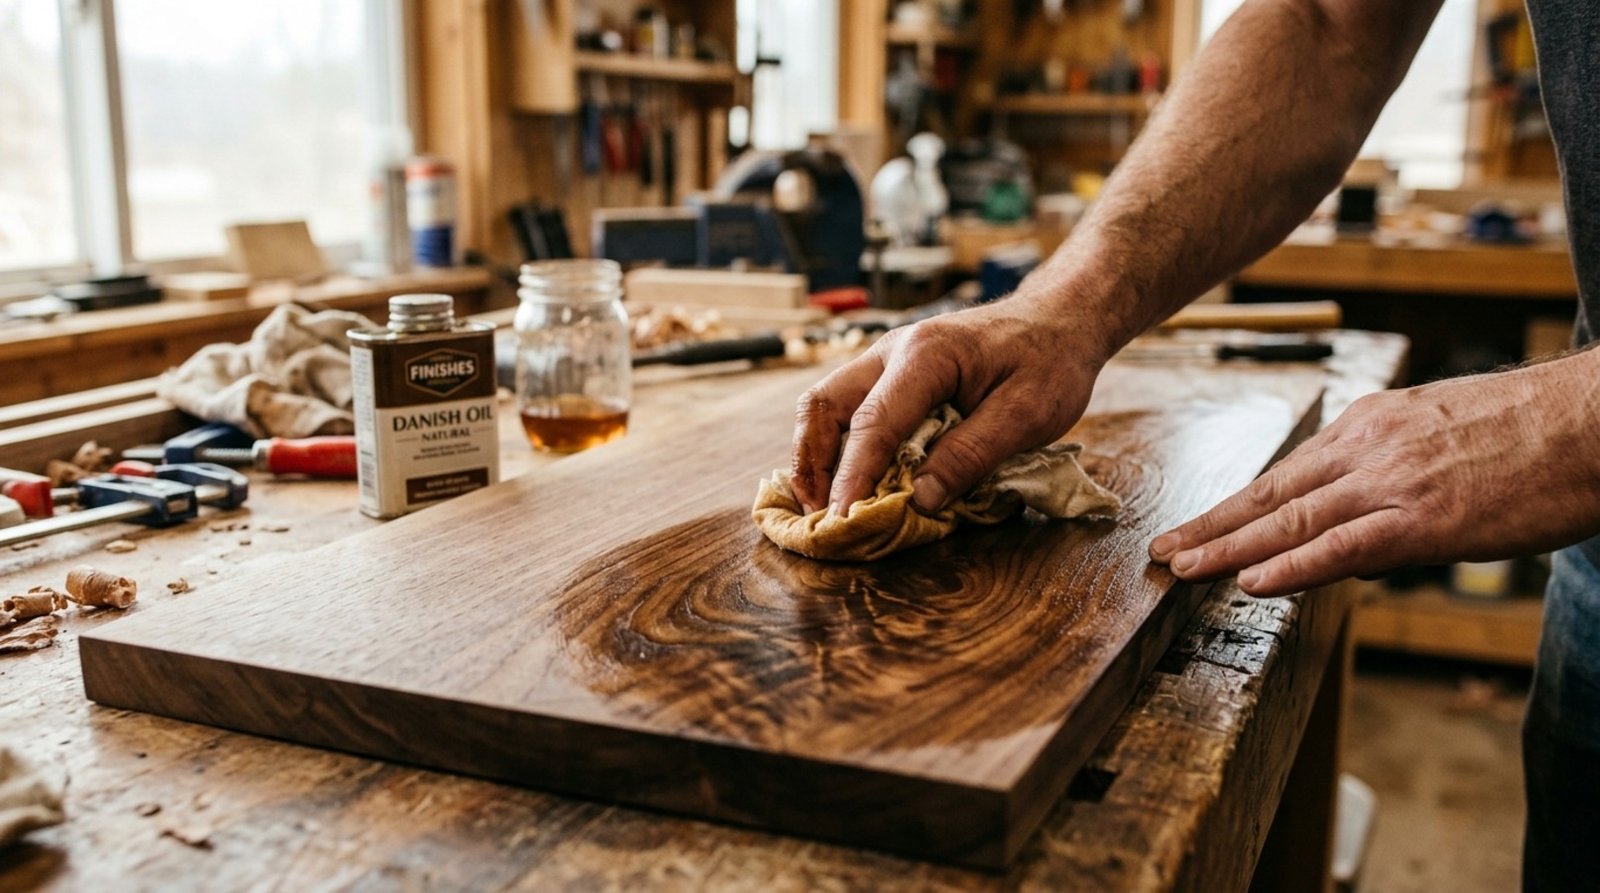
Apply a natural finish. Rub in Danish oil or beeswax with a cloth, working along the grain. Allow to dry fully between coats. This seals and protects the wood while keeping it food-safe if you plan to display plants or herbs.
Prepare the leather straps. Cut two equal lengths, punch mounting holes at the top if needed, and condition old leather with beeswax or leather conditioner to prevent cracking.
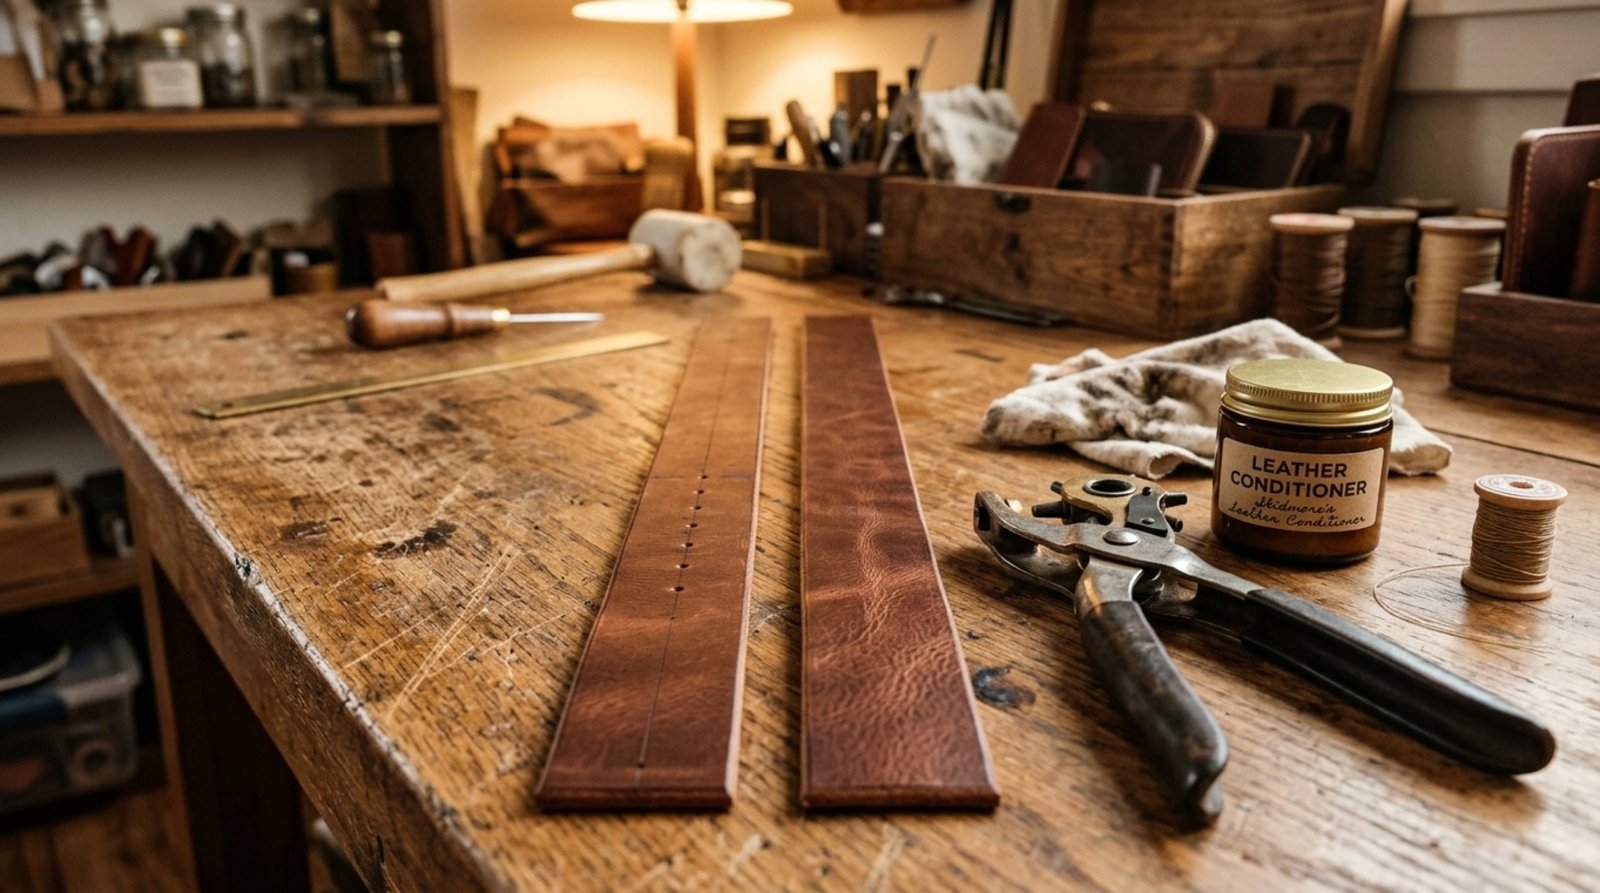
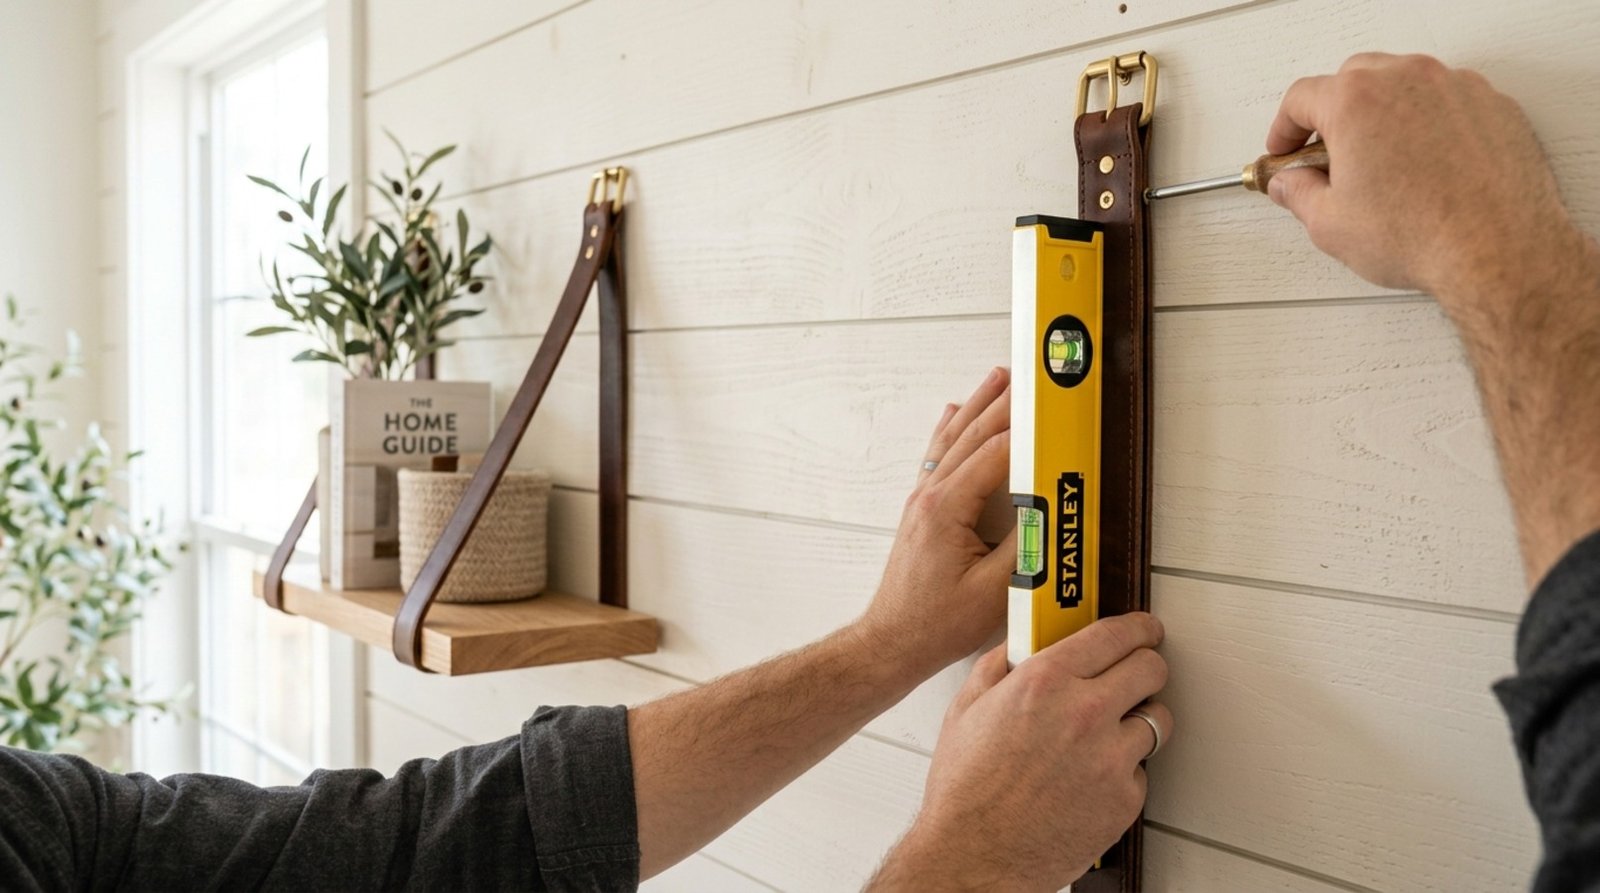
Mount the straps. Locate wall studs or install heavy-duty anchors. Fix the straps to the wall using a spirit level to ensure they sit evenly.
Slide in the shelf. Loop the board through the straps and secure from underneath with a small screw if you want a more permanent fixture.
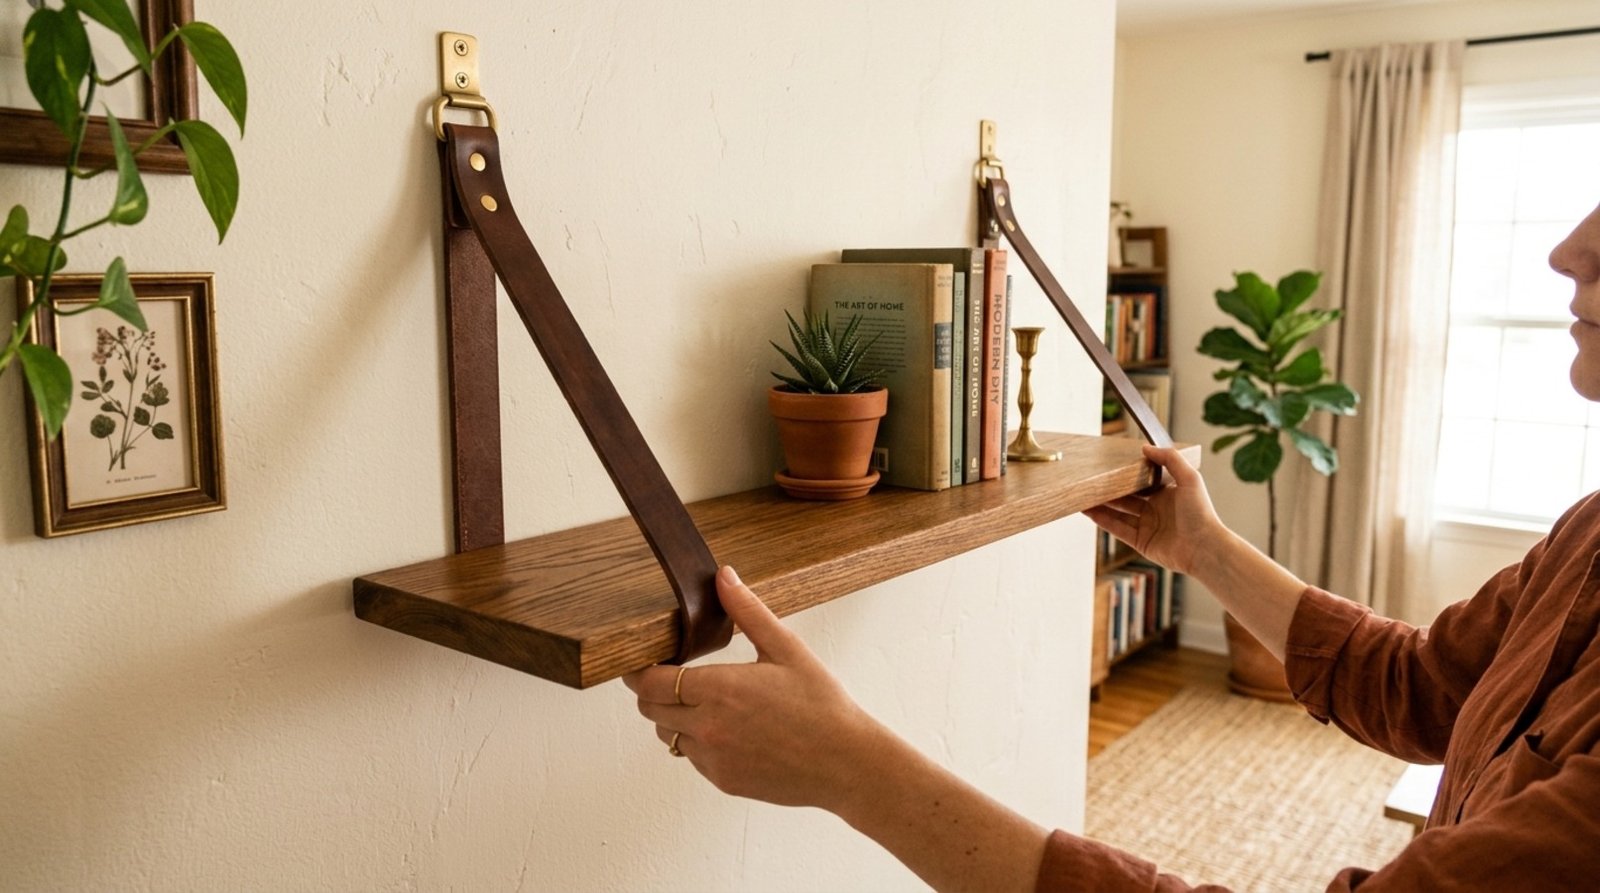
Sustainability note: By using reclaimed wood and repurposed leather belts, this project avoids the carbon footprint of new timber and the waste of fast-fashion accessories. Pre-drill all holes to prevent the wood from splitting, and round over the front edges slightly with sandpaper for a refined finish.
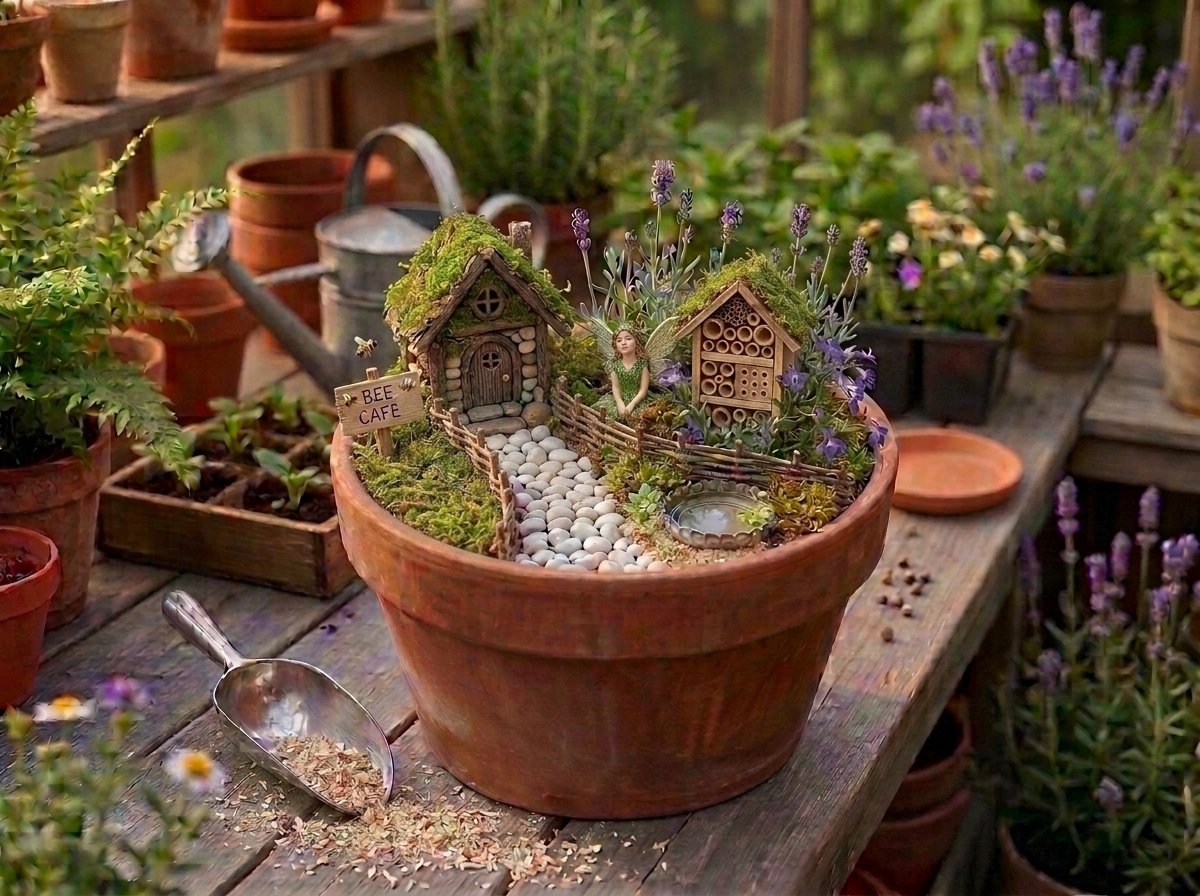
2. Pollinator-Friendly Fairy Garden in a Reclaimed Planter
A pollinator fairy garden is one of the most rewarding sustainable garden projects you can create — it supports local bees and butterflies while turning an old container into a miniature landscape full of life. This project works beautifully on balconies, patios, and garden borders alike.
What You Need
- A reclaimed planter, old colander, or wooden crate
- Gravel or broken crockery for drainage
- Peat-free compost and potting mix
- Pollinator-friendly plants: alyssum, lavender, thyme, marigolds, and lobelia
- Decorative extras: pebbles, twigs, moss, bottle caps, and bark offcuts
Step-by-Step Instructions
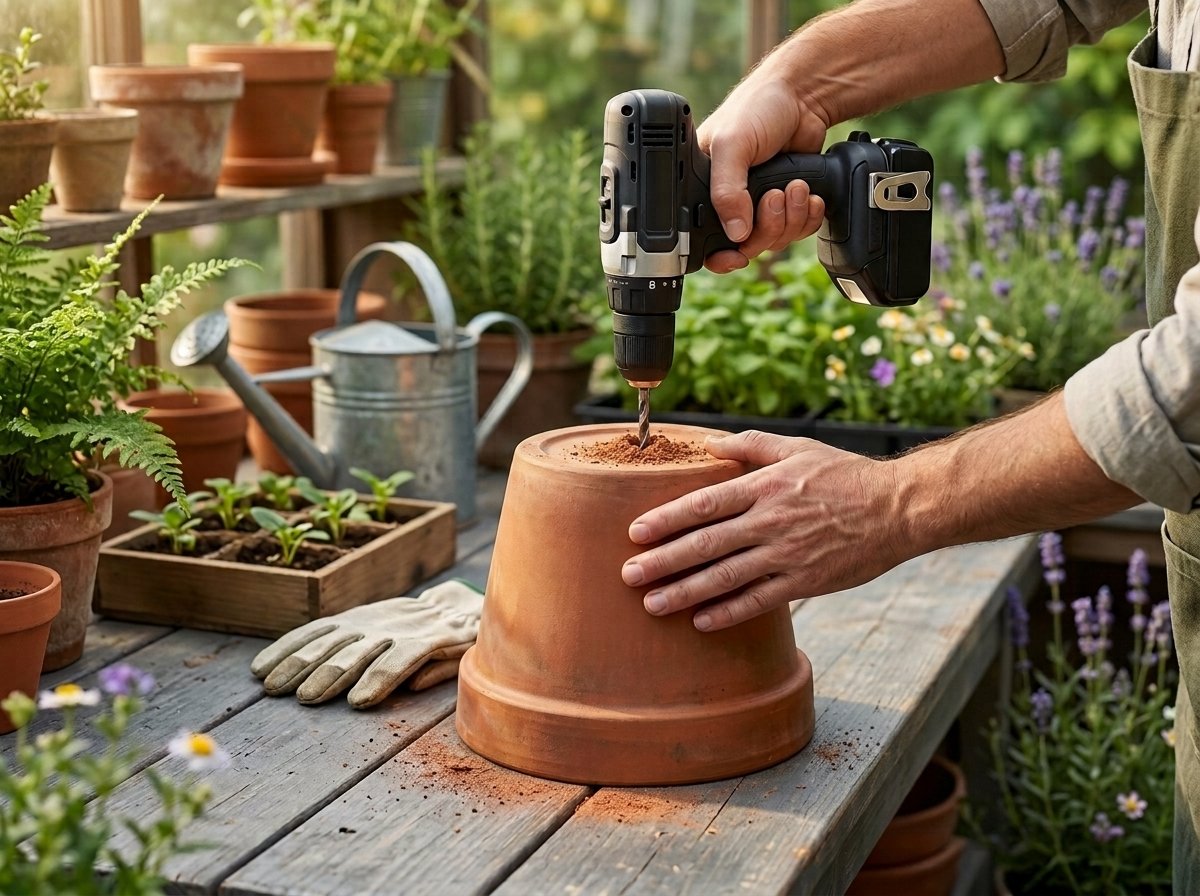
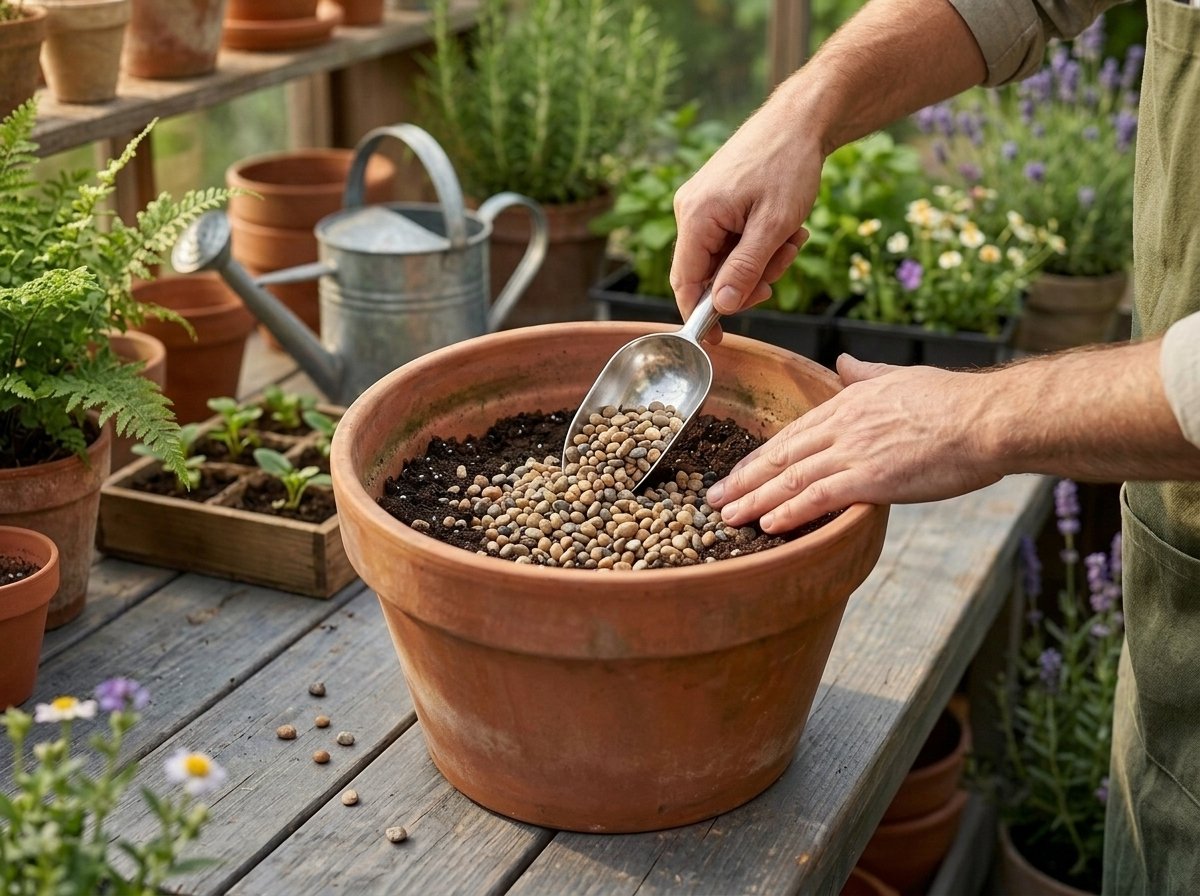
- Prepare the container. Clean thoroughly and drill drainage holes if there are none. Good drainage is essential for healthy roots.
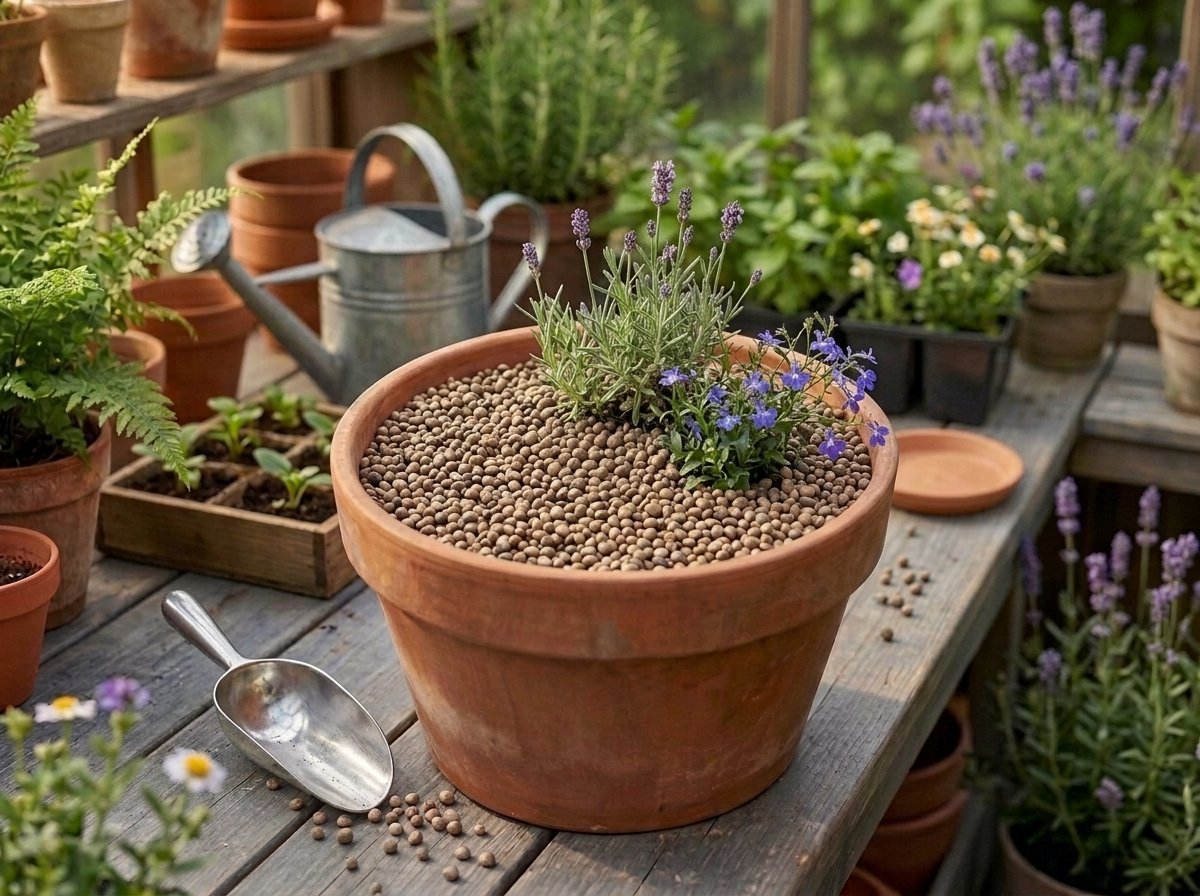
- Layer the base. Add a 3–5cm layer of gravel before filling with peat-free compost, creating gentle mounds for visual depth.
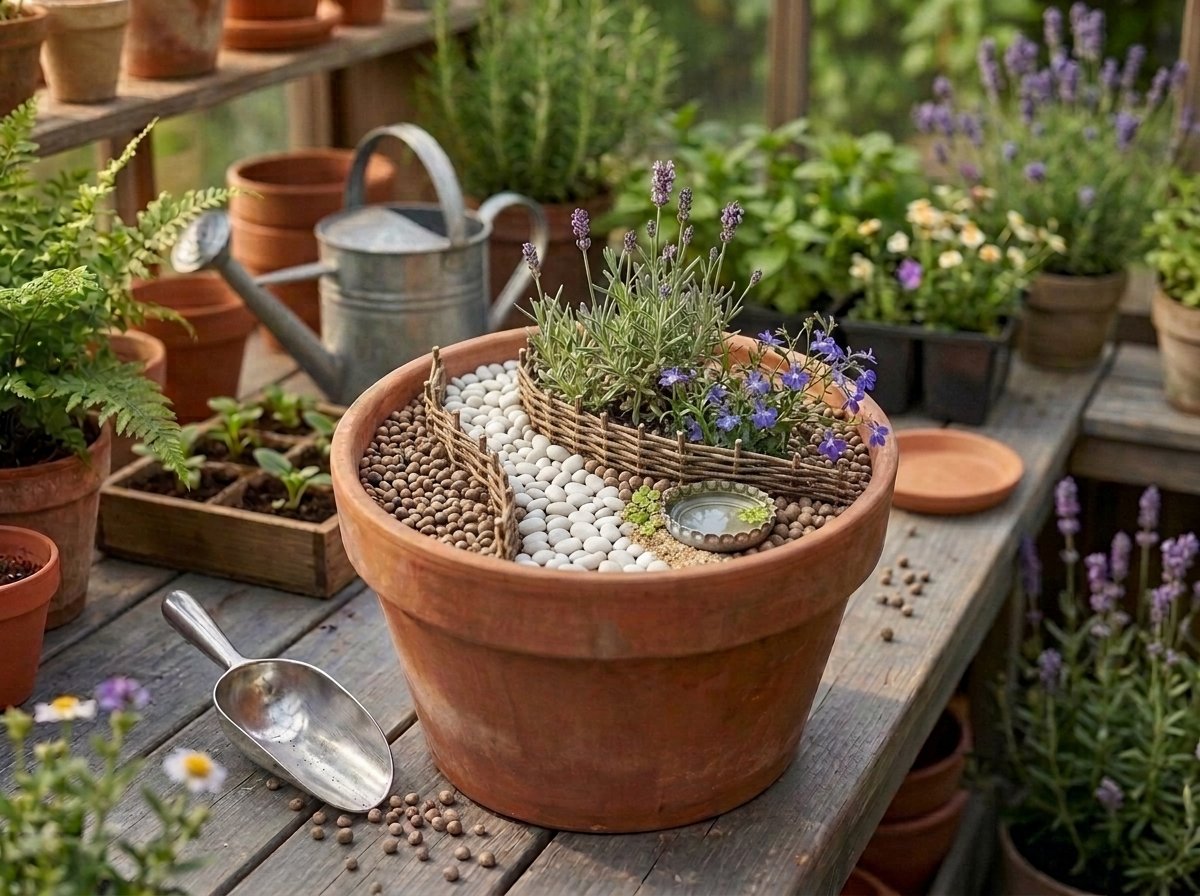
- Plant in clusters. Group plants by height — taller lavender at the back, cascading lobelia at the front. Plant in odd numbers for a natural look.
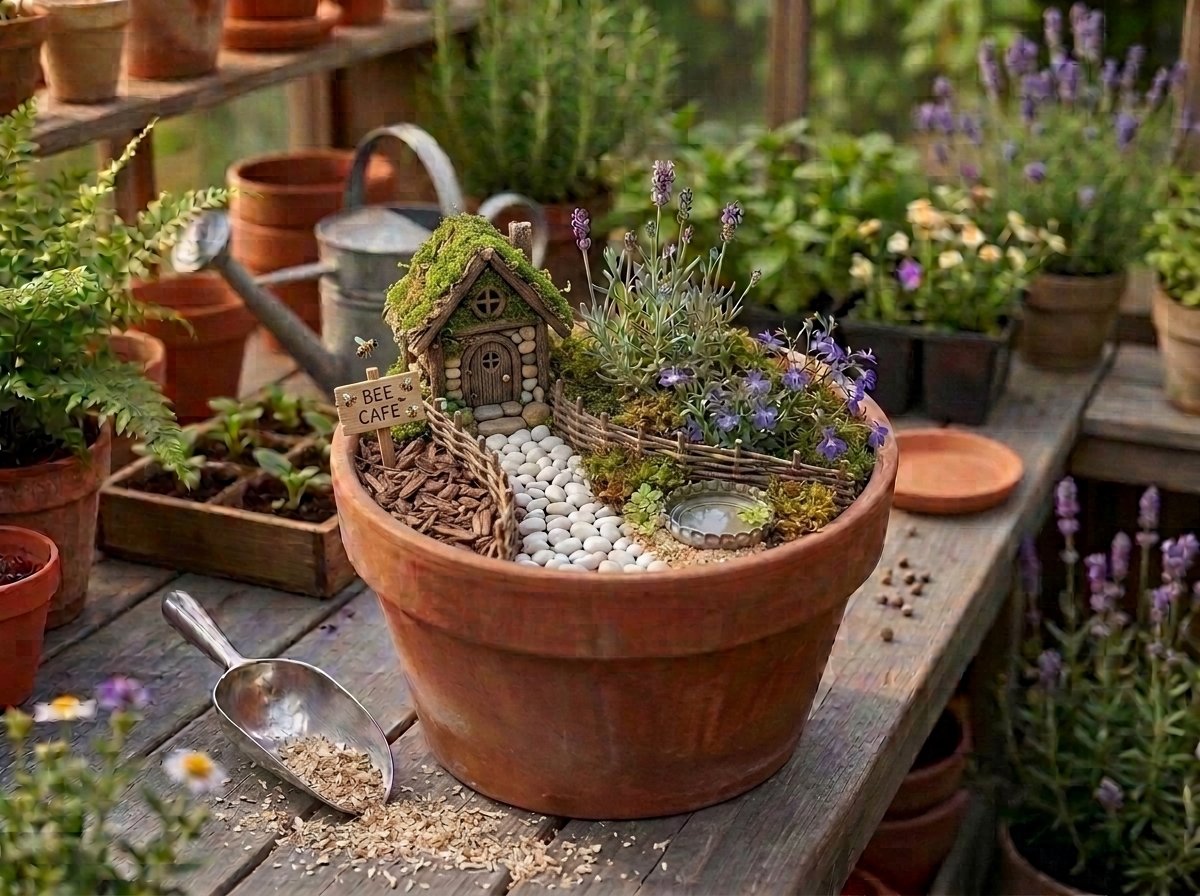
- Build the fairy landscape. Use pebbles to create pathways, twig bundles as fences, a bottle cap filled with water as a tiny pond, and bark as a rustic bridge.
- Top dress and mulch. Press preserved moss between plants and mulch lightly to retain moisture and suppress weeds.
Key tip: Avoid pesticides entirely — they are lethal to the very pollinators this garden is designed to attract. Deadhead spent flowers regularly to encourage new blooms throughout the season.
3. Reclaimed Wood Moon Phase Plant Wall
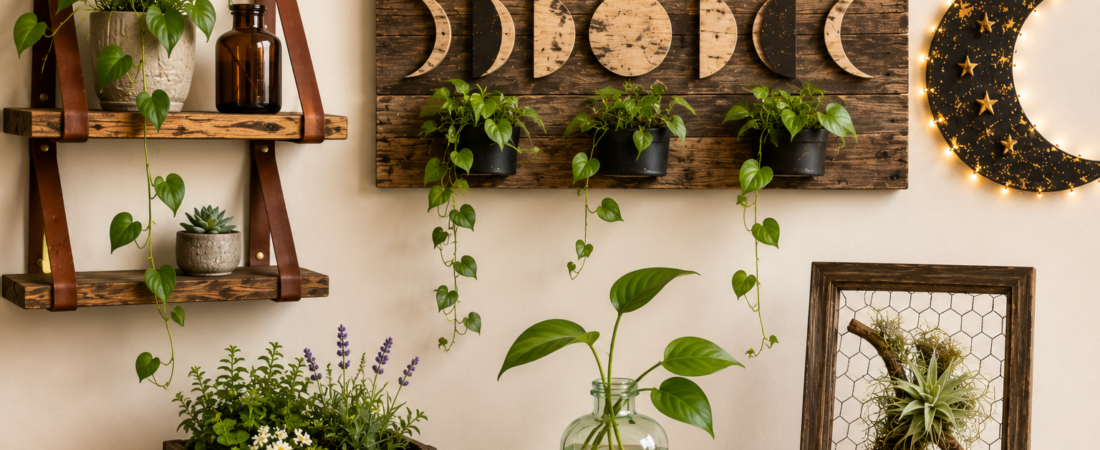
If you are looking for a sustainable home decor idea that doubles as living wall art, a moon phase plant display built from pallet wood is one of the most visually striking options available. The seven lunar phases cut from reclaimed boards create a dramatic focal point, while trailing plants add softness and life.
What You Need
- Reclaimed pallet wood or scrap timber boards
- A jigsaw and sandpaper
- Dark wood stain or matte black paint
- Small wall-mounted planters or test tube vases
- Trailing plants: pothos, philodendron, or string of hearts
- Hanging hardware and a spirit level
Step-by-Step Instructions
- Print and trace moon templates. Find free lunar phase templates online, print them at the correct scale, and trace each shape onto your reclaimed board.
- Cut and smooth. Cut carefully with a jigsaw and sand all edges until smooth. Take your time on the curved sections — the finish quality makes a significant visual difference.
- Apply finish. Use a dark walnut stain or matte black paint for a contemporary look. Two coats give even coverage on porous reclaimed wood.
- Attach planters. Screw or bracket small planters onto your chosen moon phases — the full and gibbous phases work best as they have the most surface area.
- Hang and plant. Mount the phases in sequence using a spirit level. Fill the planters with trailing varieties and allow the foliage to drape naturally across the wall.
Pro tip: Use lightweight plastic pots inside decorative outer planters to reduce wall loading. Hide mounting screws with a dab of matching stain or paint for a cleaner finish.
4. Upcycled Celestial Moon Wall Art with Fairy Lights
This project transforms waste materials — scrap plywood or thick cardboard, recycled jewellery, old buttons, and leftover LED fairy lights — into a dramatic celestial wall installation. It is one of the best upcycled home decor ideas for adding atmospheric lighting without buying new.
What You Need
- Plywood or thick cardboard for the crescent base
- Air-dry clay or papier-mache for texture
- Black acrylic paint, gold and bronze metallic wax
- Recycled decorative items: old jewellery, wooden beads, buttons
- Warm LED fairy lights (battery-powered work well)
- Strong craft glue and hanging hardware
Step-by-Step Instructions
- Cut the crescent shape. Draw or trace a large crescent and cut out with a jigsaw or heavy scissors if using cardboard.
- Add surface texture. Apply papier-mache or air-dry clay in irregular patches to mimic crater texture. Allow to dry completely before painting.
- Paint and highlight. Apply a base coat of black paint, then dry-brush bronze and gold metallic wax lightly over raised areas to create depth and dimension.
- Add star details. Glue recycled jewellery pieces, wooden cut-outs, or pearlescent buttons around the moon as decorative stars.
- Install the fairy lights. Wind warm LED fairy lights around and behind the crescent for soft ambient glow. Secure loosely with small hooks or tape on the reverse.
Care tip: Dust gently with a dry cloth and keep away from prolonged moisture. If using cardboard, seal the entire surface with a layer of PVA glue before painting to prevent warping.
5. Perfume Bottle Propagation Vases
Empty perfume bottles are among the most underused upcycling opportunities in any home. Their elegant shapes and decorative glass make them perfect propagation vases for trailing houseplants — and the result looks like something you would find in a high-end botanical boutique, not a recycled bottle.
What You Need
- Empty perfume bottles (various shapes and sizes)
- A bottle brush
- Rubbing alcohol and warm soapy water
- Filtered or rainwater
- Healthy plant cuttings with at least one node
Step-by-Step Instructions
- Remove the spray mechanism. Pull or twist off the spray head carefully. Rinse the bottle several times with warm water immediately.
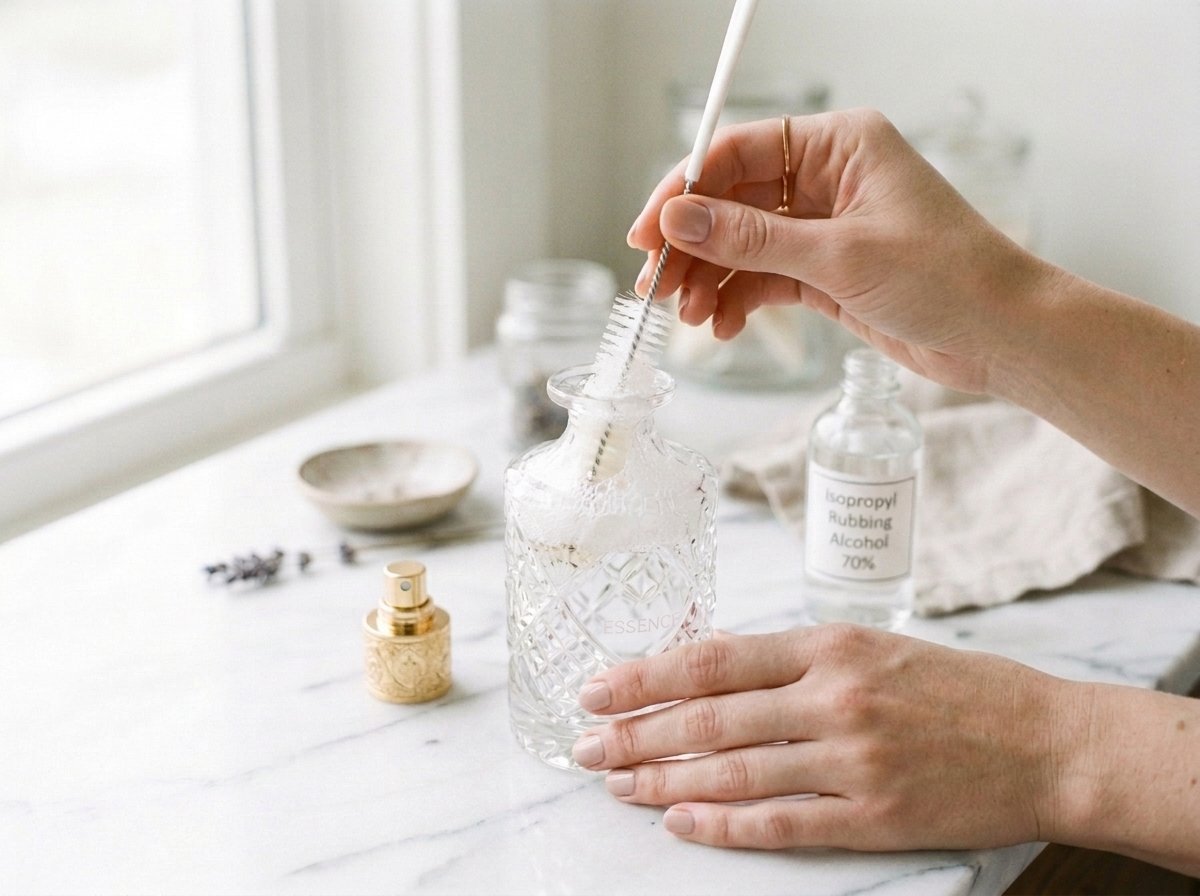
- Deep clean. Wash thoroughly with warm soapy water using a bottle brush. Follow with a rinse of diluted rubbing alcohol and repeat until no fragrance residue remains — perfume oils can inhibit root development.
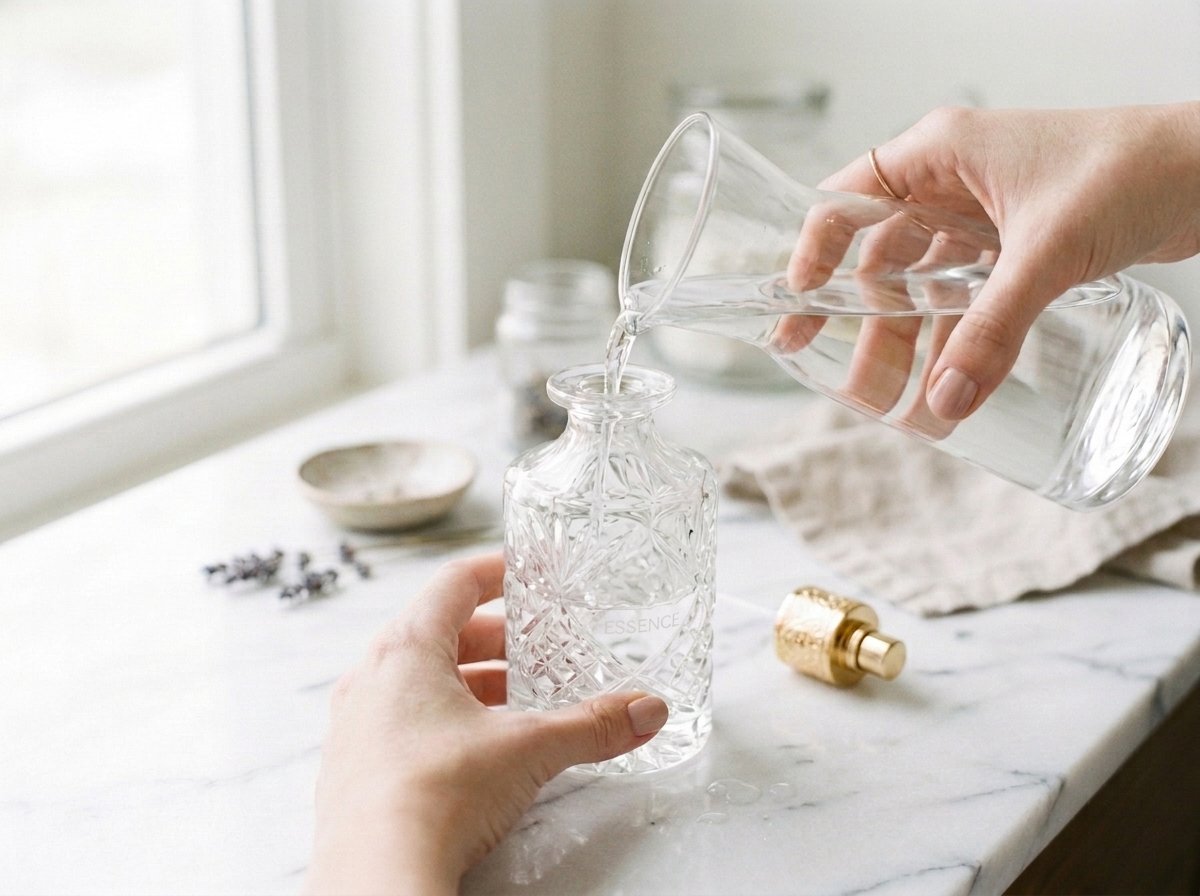
- Fill with filtered water. Tap water containing chlorine can slow rooting. Use filtered, rainwater, or leave tap water to sit uncovered overnight before using.
- Insert your cutting. Take a healthy stem cutting just below a node. Remove lower leaves and submerge one node in the water while keeping leaves above the waterline.
- Place in bright indirect light. Change the water weekly to prevent stagnation and algae growth. Roots typically appear within two to four weeks.
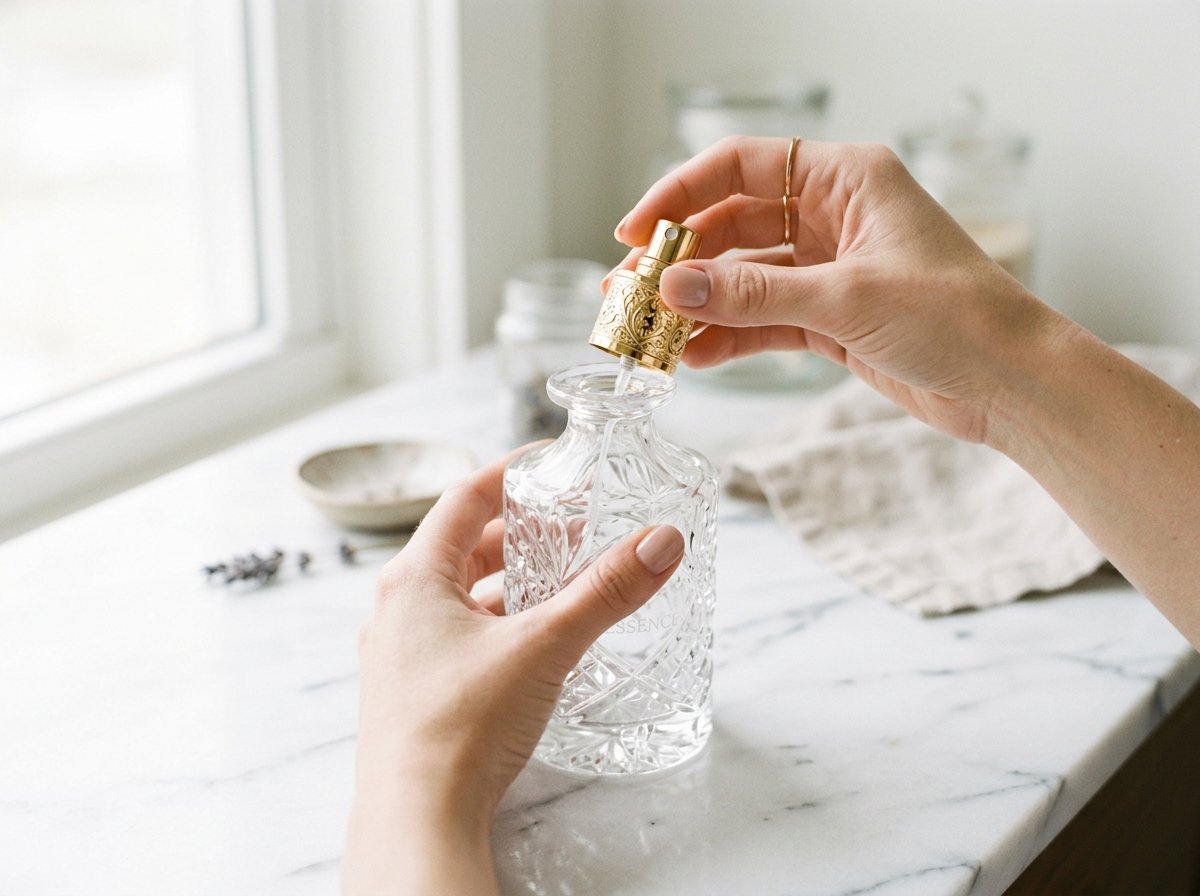
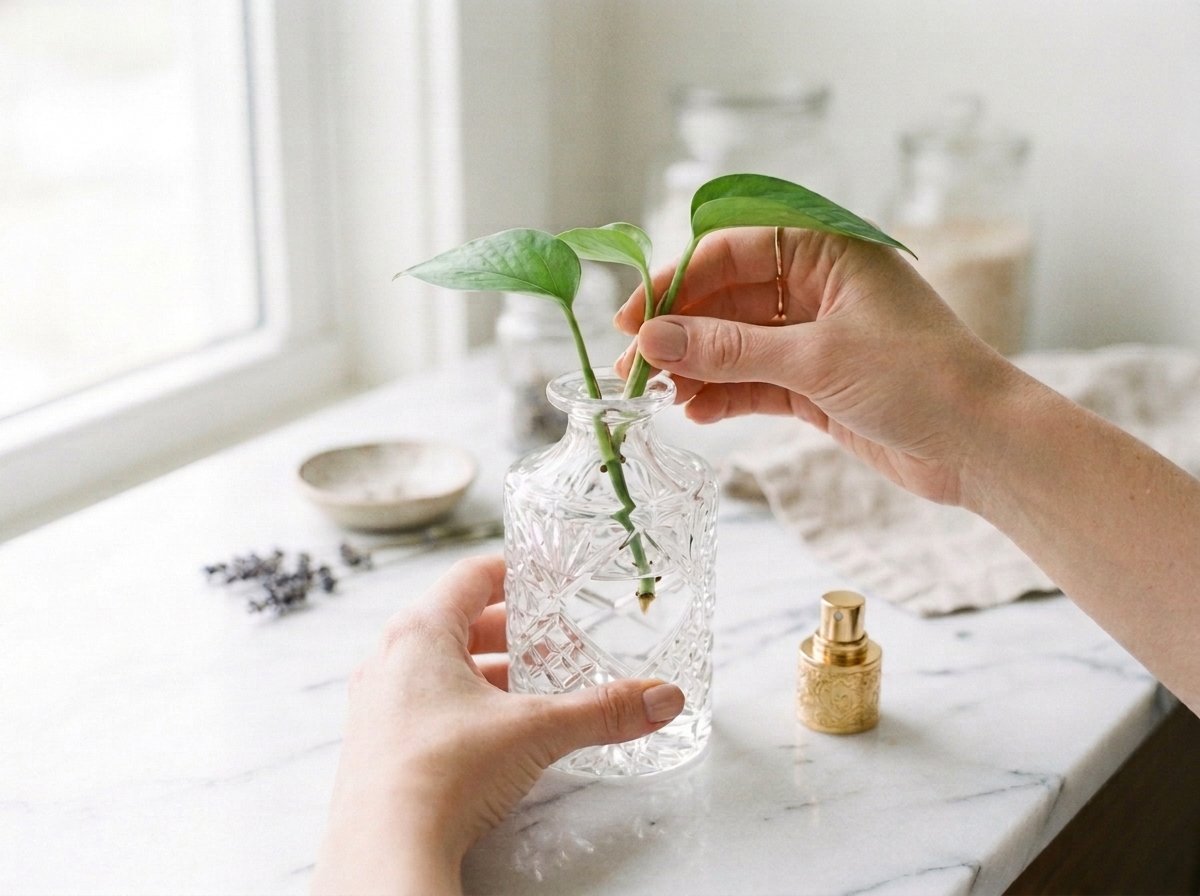
Best plants for propagation vases: Pothos, monstera adansonii, philodendron, tradescantia, and lucky bamboo all root readily in water and look beautiful in decorative glass. Group bottles of different heights on a wooden tray for a curated, botanical shelfie effect.
6. Framed Air Plant Wall Art from Upcycled Picture Frames
Air plants (tillandsia) require no soil, minimal watering, and very little maintenance — making them one of the most sustainable plant choices for indoor gardens. When displayed inside a upcycled picture frame with a chicken wire backing and preserved moss, they become a living piece of wall art that genuinely improves with time.
What You Need
- Old picture frame (the larger and chunkier, the better)
- Chicken wire cut to fit the frame opening
- A staple gun
- Preserved or dried moss
- Pieces of driftwood or small twigs
- Several tillandsia air plants in different sizes
- D-ring picture hooks and wall fixings
Step-by-Step Instructions
- Dismantle the frame. Remove the glass, backing board, and any hanging hardware from the original frame.
- Fit the chicken wire. Cut the wire to size and stretch it tightly across the back of the frame opening. Staple firmly around all four edges — tension is important for a professional finish.
- Build the base layer. Weave preserved moss and small pieces of driftwood through the wire mesh to create a textured, natural backdrop.
- Position the air plants. Tuck tillandsia gently into the mesh openings, working from the largest plant to the smallest. Avoid forcing them — they should sit comfortably without pressure on the leaves.
- Hang and maintain. Fix D-ring hooks to the back of the frame and hang in a spot with bright indirect light. To water, remove the plants once a week, soak in room-temperature water for 20 to 30 minutes, shake off excess moisture, and allow to dry completely before replacing — tillandsia are prone to rot if water collects at the base.
Design variations: Try a geometric layout with plants arranged in a grid pattern, use a circular wreath frame for a softer look, or create a seasonal theme by swapping in dried flowers or berries alongside the tillandsia.
Getting Started with Sustainable DIY at Home
The best sustainable DIY projects are the ones you actually finish — so start small. Pick one project from this list that uses materials you already have at home. The leather strap shelves and perfume bottle propagation vases both require very little in the way of tools or budget, making them ideal starting points.
As you build confidence, you can tackle more involved projects like the moon phase wall or the framed air plant display. Each project teaches transferable skills — woodworking, plant care, surface finishing, and spatial design — that carry across to every future DIY you attempt.